Hello, crafty friends! I'm so happy to be joining in Simon Says Stamp's In My Heart Day One Blog Hop! As is true for all of Simon's releases, this one is filled with so many beautiful stamps, dies, stencils, and embossing folders just right for our spring time projects!
Check this out!

You will receive this exclusive and not-yet-released Beautiful Day 3" x 4" stamp set for free with your purchase of any item in the exclusive In My Heart Collection! How awesome is that?! Note: This gift with purchase will expire on March 22 at 11:59 pm EDT or while supplies last.
Also, I want to let you know that Simon Says Stamp will be awarding a $25 coupon to every stop of the blog hop! All you need to do is to leave your comment here and at each stop along the way, which will increase your chances of winning! Check out the complete hop list below.
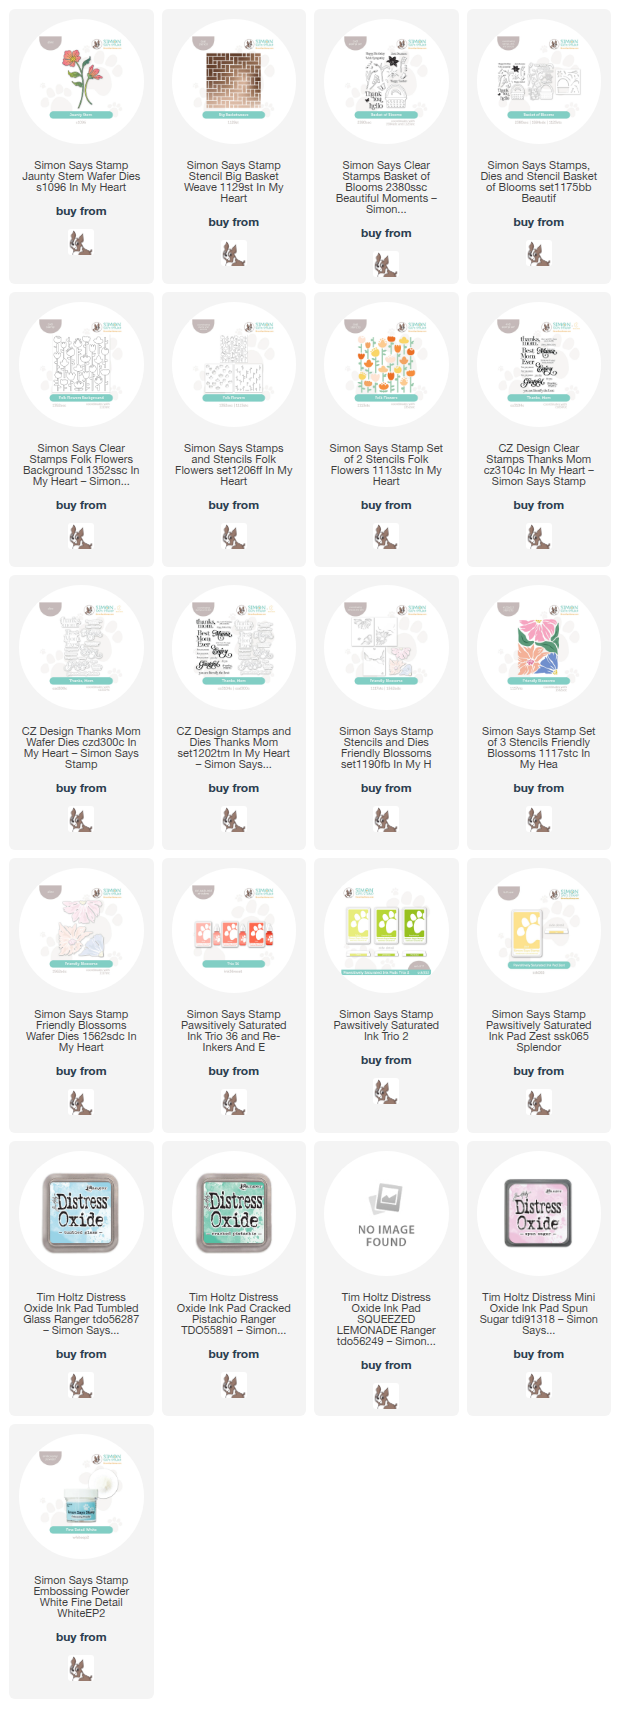
Now, on to my first card I am sharing with you! This features the new and so beautiful Jaunty Stem die set and the Big Basketweave Stencil.

One of my most favorite techniques to use in my card making is tinting texture paste to use with stencils! I tinted this texture paste with one drop of Lost Shadow Distress Ink Re-inker. I spread the tinted paste through the Big Basketweave Stencil without smoothing it off for this rustic look.
Mounting the dry stenciled panel onto light gray cardstock adds another touch of the light gray I used in the texture paste.

I love this background for the Jaunty Stem die set! After die cutting white cardstock, I did some quick Copic marker coloring on the pieces. Foam tape squares behind the flowers and glue on the stems creates more dimension on the card.
I used a sentiment from the previously released Basket of Blooms stamp set. I love making birthday cards for my stash!

----------------------------------------------------------------------------------------------
This next card is so sweet with a whimsical background I made with the Folk Flowers Background stamp.
I stamped this fun Folk Flowers Background stamp with clear embossing ink onto white cardstock. I added white embossing powder and then heat set it. I used ink blending brushes to add on soft shades of Distress Oxide inks.
I love how the white embossing just pops when color is added to the panel! Be sure to use a clean towel to wipe off any excess ink from the embossing.

The sentiments are from the new Thanks, Mom stamp set. I used my scissors to trim out the large sentiment, but there are coordinating dies available. Check out the link in my product list below.

----------------------------------------------------------------------------------------------
In case you missed it, yesterday I shared this fun and vibrant card over on my Instagram, @c.ann.h. This features the beautiful Friendly Blossoms Stencils and Coordinating Dies.

I used some of my favorite Simon Says Stamp Pawsitively Saturated Ink pads to color through the Friendly Blossoms Stencils. I have all of the colors I used in my product list below.

When I die cut the stenciled images with the Friendly Blossoms dies, I die cut two more layers of each die from white cardstock. Note that I did not die cut the leaves.

I really love the perspective in dimension is achieved with the stacked florals and leaving the stenciled leafs on the panel!
These sentiments are also in the Thanks, Mom stamp set. I used my trimmer to cut them into rectangles and foam strips to adhere them to the card.
Thank you for taking a look at my cards in this awesome hop! I hope I've inspired you and that you will leave a comment for me before you continue hopping! The winners will be chosen by Simon Says Stamp and posted on their blog on Wednesday, March 25 with instructions on how to redeem your prize.
Hop along here for lots of amazing inspiration!
Here are the supplies I used for my cards shown. Thank you so much for using my affiliate links to shop (never any additional cost to you)!